Ergonomic Scale Calibration Procedure for EasyLift™ Drum Handling Equipment
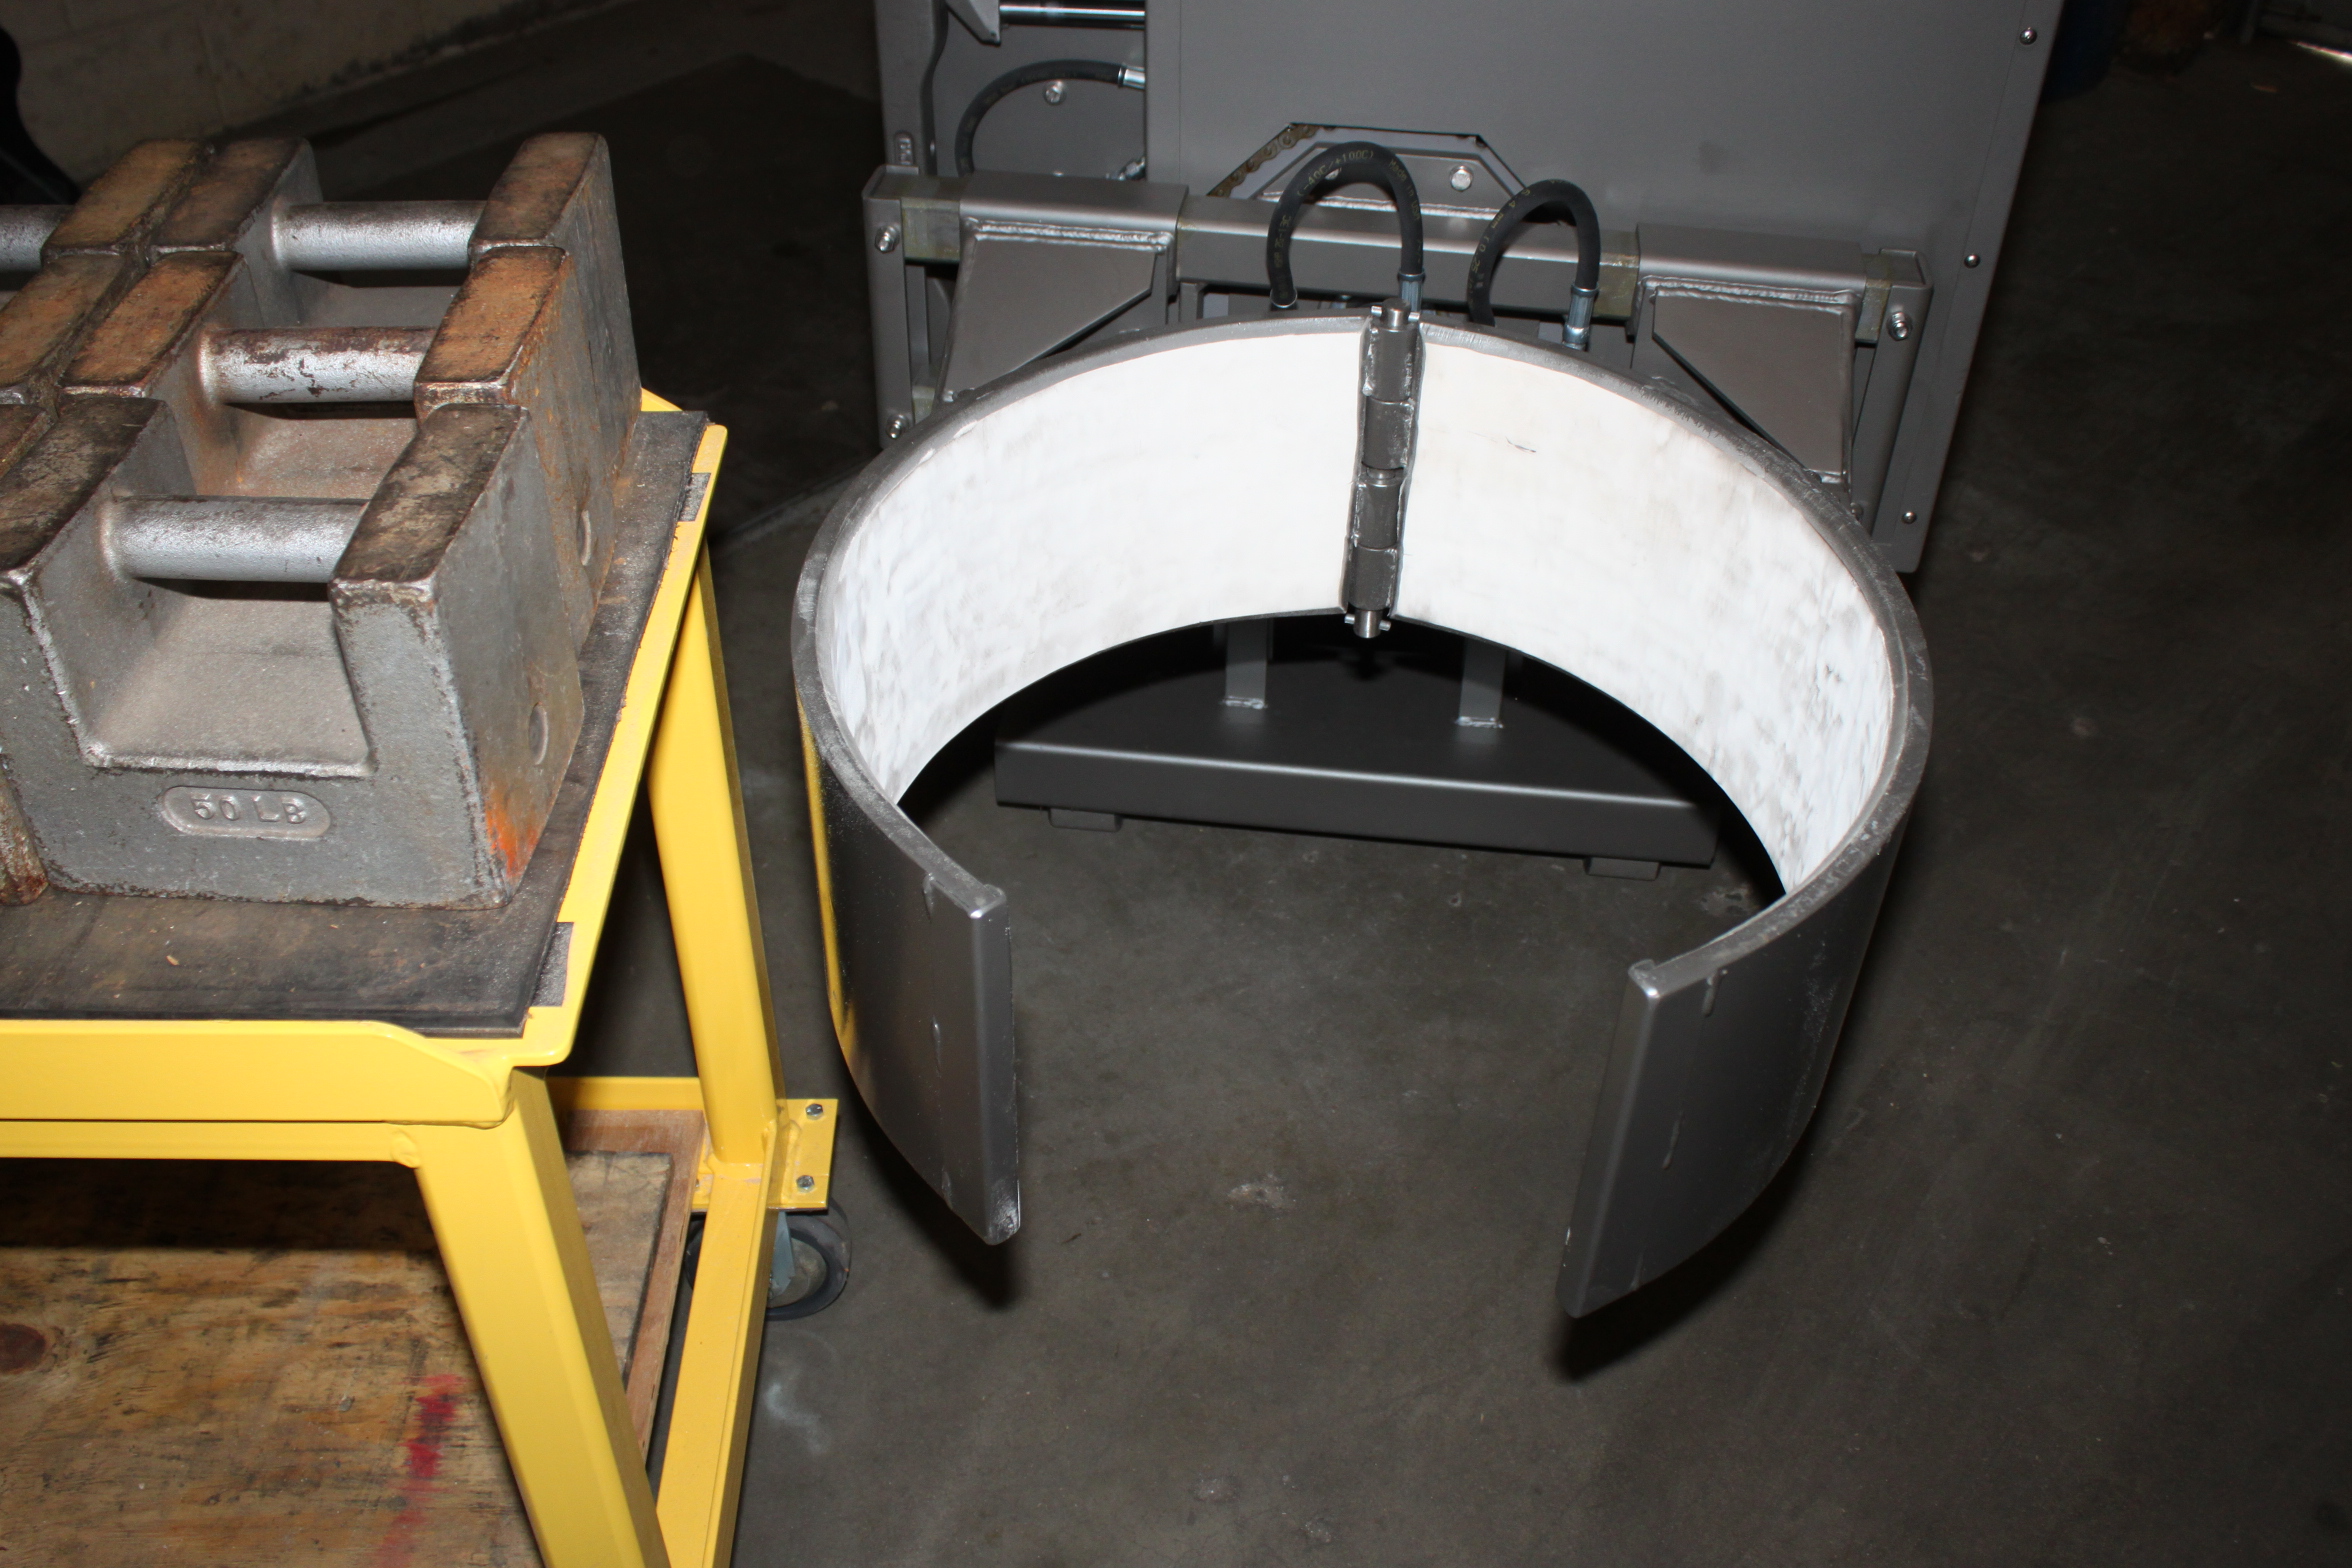
Easy Lift Equipment produces a wide range of drum handling equipment all of which are available with optional scale systems for weighing drums Two Easy Lift product lines which we often install scale system on are our; Eagle Grip Drum Handling Attachments for lift trucks and our EasyLift™ Drum Transporters. This equipment utilizes the Eagle-Grip clamping mechanism to safely hold and transport drums. These lift truck attachments and ergonomic drum transporters equipped with drum scales offer the added capability to conduct physical inventory of material stored in industrial drums, as well as check weigh incoming raw materials or out going waste in stored in drums. These products streamline the time required for weighing drums by eliminating the use of floor scales and the logistics associated with traveling to and from those floor scales.
Our manually propelled drum dumpers and the self-propelled drum dumpers Drum-Haulers™, utilize drum scales for an entirely different purpose. This type of equipment is used by our customers in their production process to transport and dispense drums efficiently and ergonomically. By incorporating a scale system with our drum dumpers the operators are able to dispense drums by contents weight. The production time saved by not having to pre-weigh materials into smaller containers on floor scales, greatly increases operator productivity by eliminating the additional task of handling these intermediate containers. While all of our equipment is calibrated prior to shipping, any scale will drift away from its original calibration over a period of time. We recommend that our equipment be re-calibrated at least quarterly by a certified scale company or by trained in-house personnel using certified test weights. The scale calibration procedure will vary depending on the brand and model of indicator but the process of using calibration weights on and off the clamp of the drum dumper would remain the same.
Have you calibrated your equipment’s scale system recently? An inaccurate scale can create create a host of problems for any business. Common problems resulting from neglecting to calibrate your drum scale include product waste, inventory management, process quality issues and shipping issues. For industries that rely on measurements of mass in their production facilities such as food and beverage, oil and gas, chemical, and pharmaceutical industries, the accuracy of scale systems used on the production floor is essential. All scale systems require periodic calibration at set intervals due to drift which occurs naturally with all such instruments. Additionally if the instrument has been subjected to an unexpected shock or vibration a calibration should be performed as soon as possible.
This calibration procedure is designed for all scale indicators installed on Easy Lift Equipment Drum-Haulers™, or EasyLift™ Drum Dumpers equipped with an FCR, CR, or RCR clamp. In short this procedure applies to all or our products equipped with forward or side rotation clamps designed for drum dumping or manipulating drums and is designed to make the process safe and ergonomic for employees performing the calibration.
Before starting, please be sure that the indicator battery is fully charged and that the complete scale system is in proper working order.
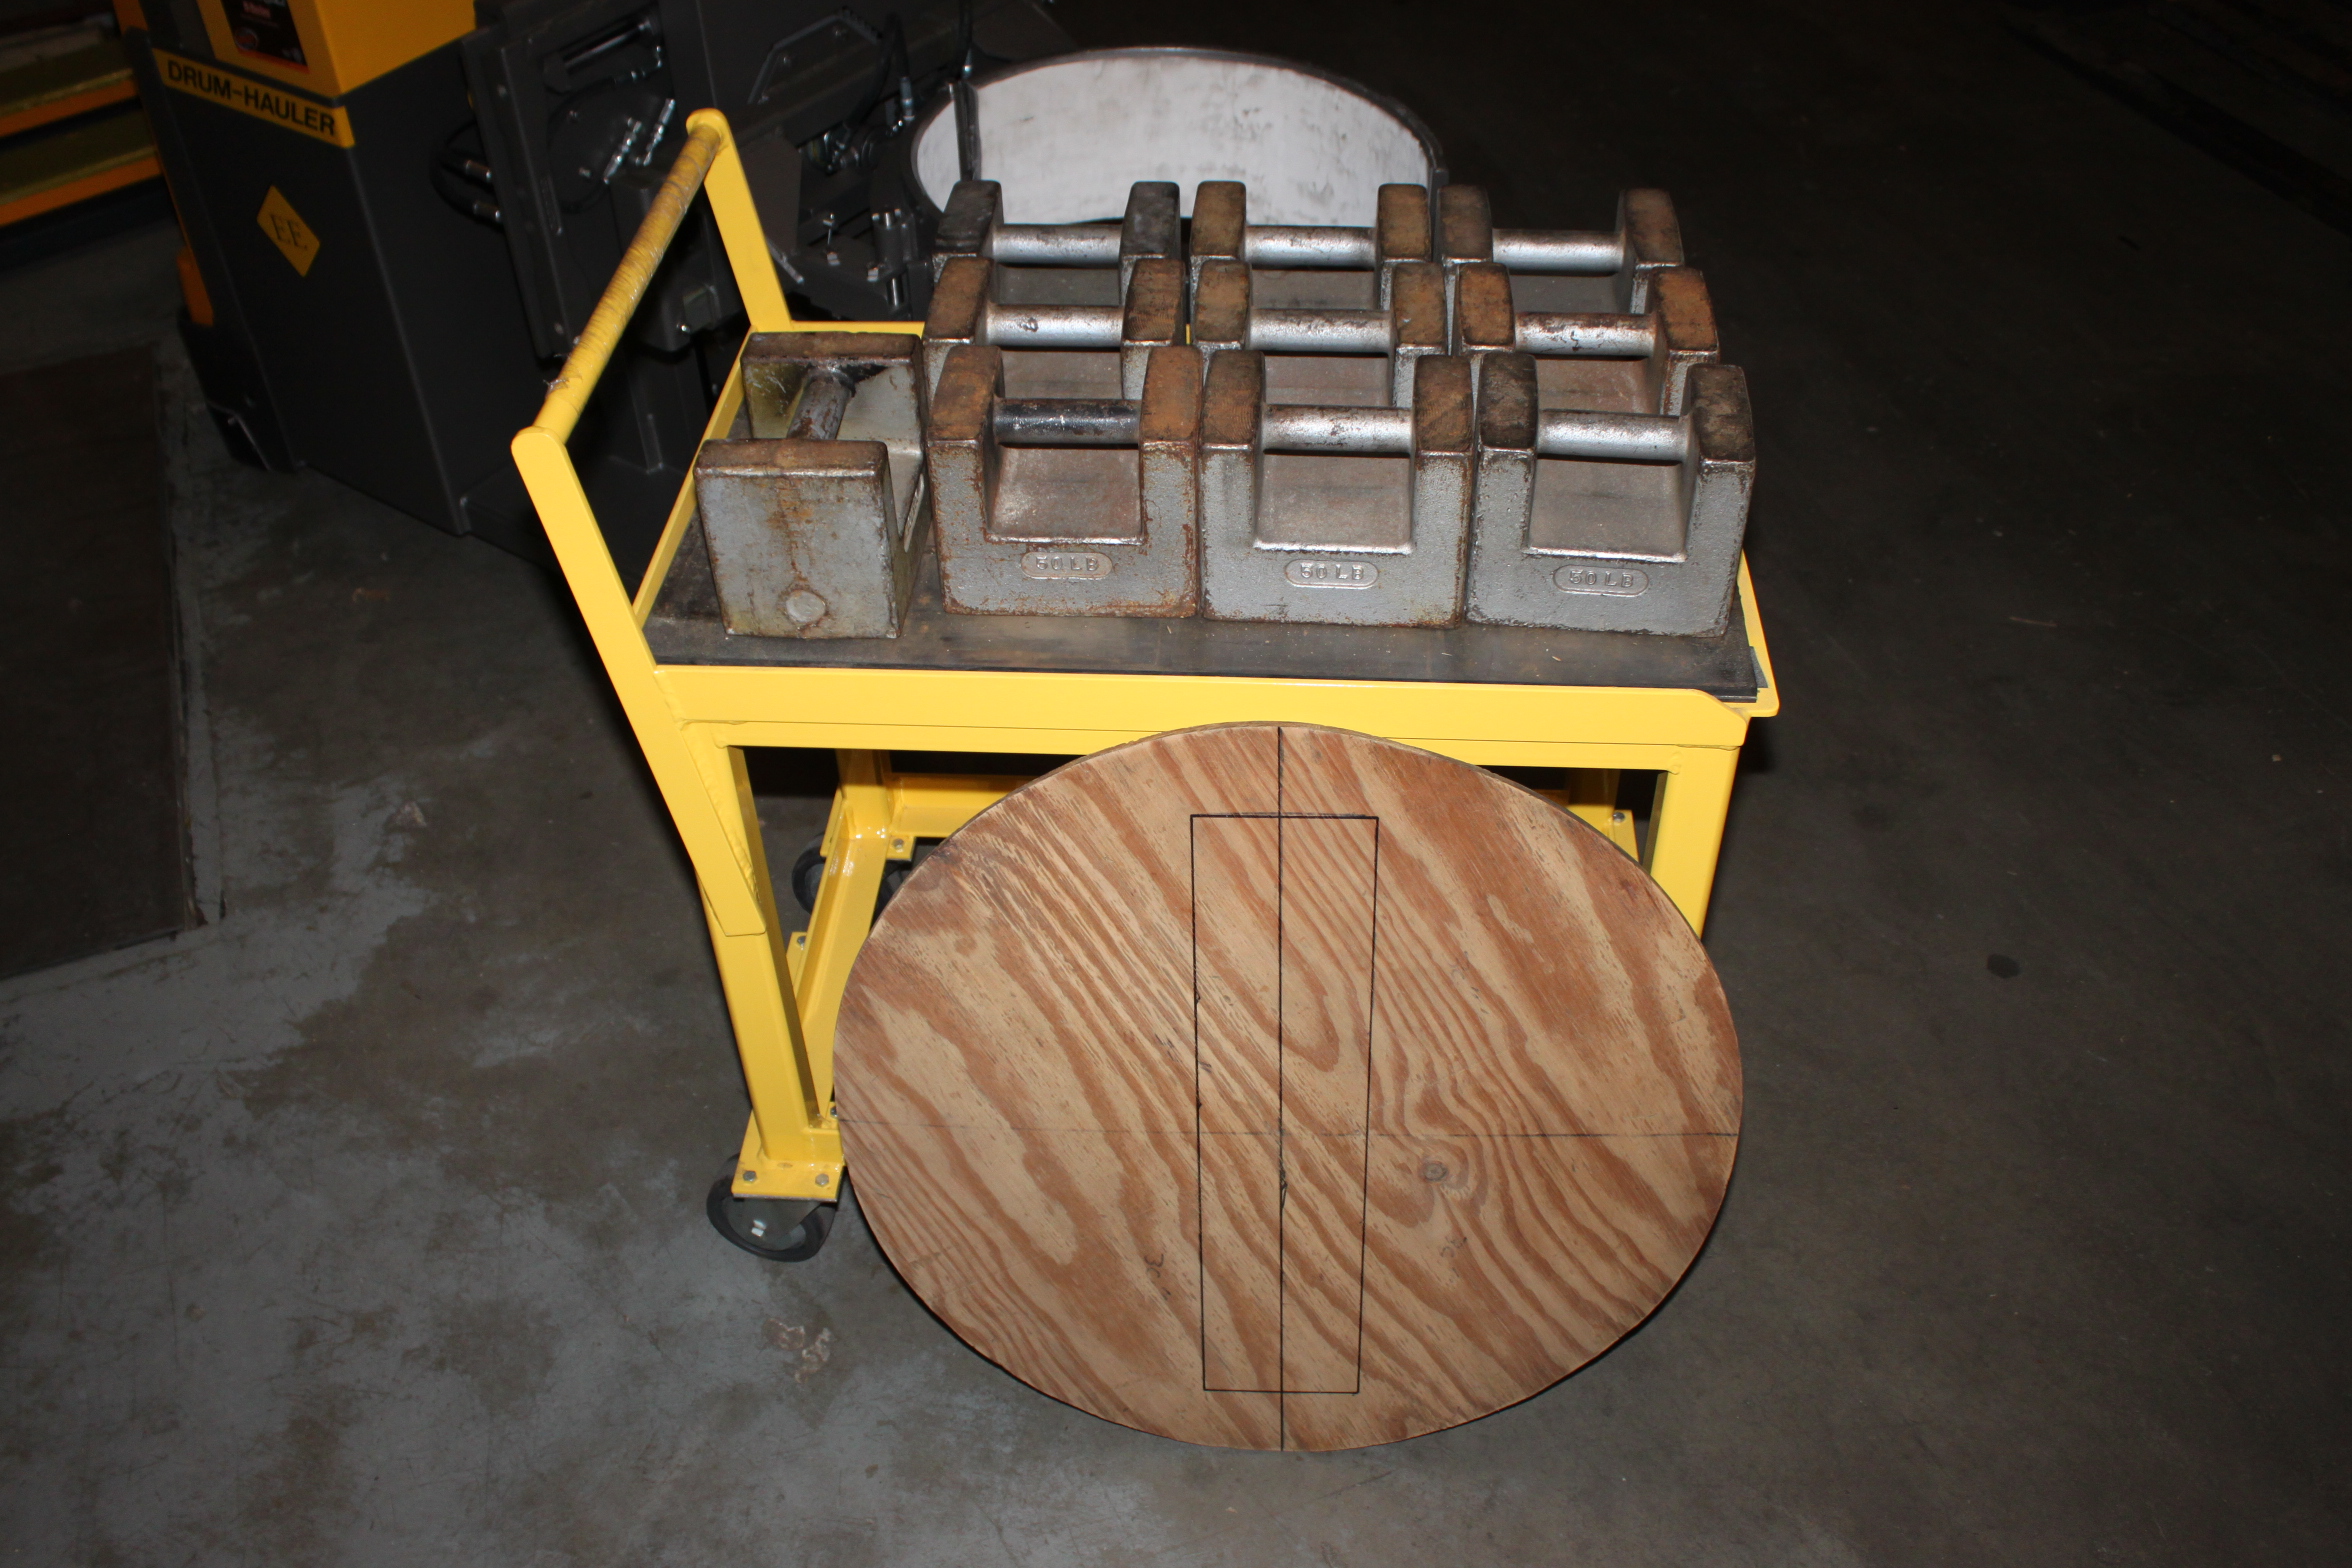
To calibrate indicator installed on our equipment you will need 500 pounds of calibration weights, generally a quantity of 10 weights weighing 50 lb. each. Or if your company is on the metric system for weighing, calibration can also be achieved using 10 calibration weights weighing 25 kg each.
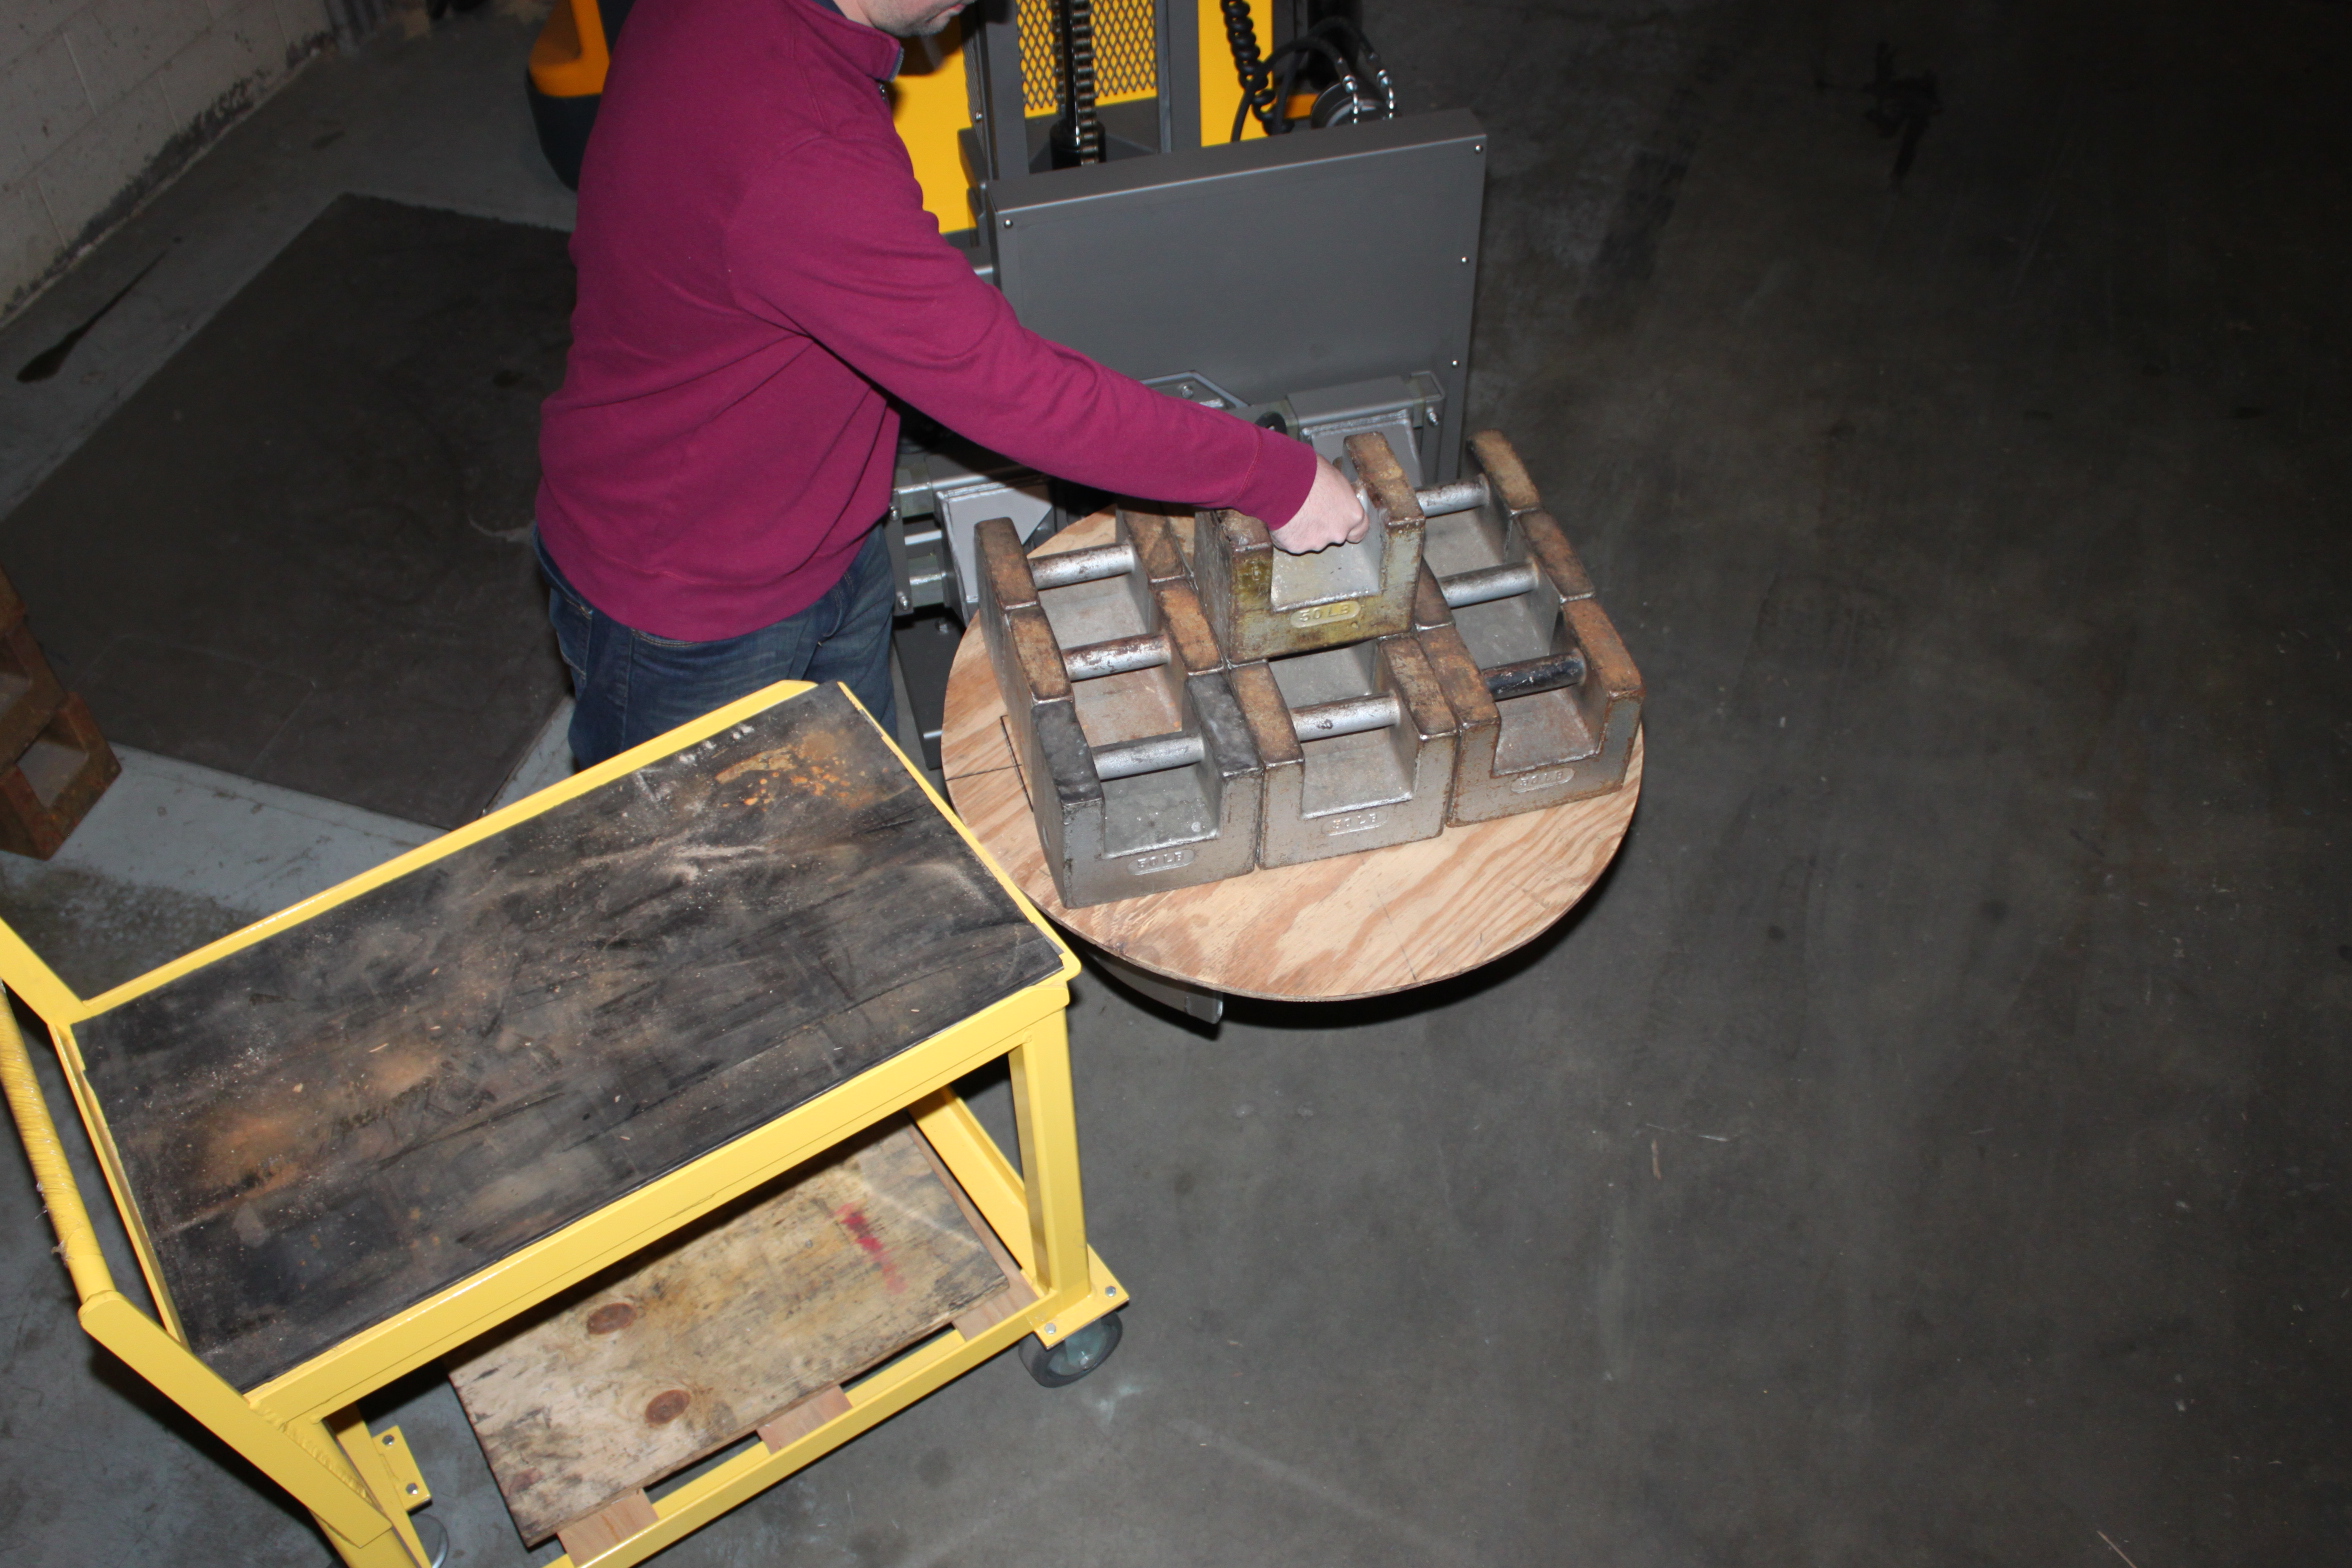
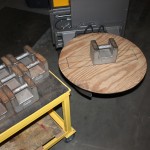
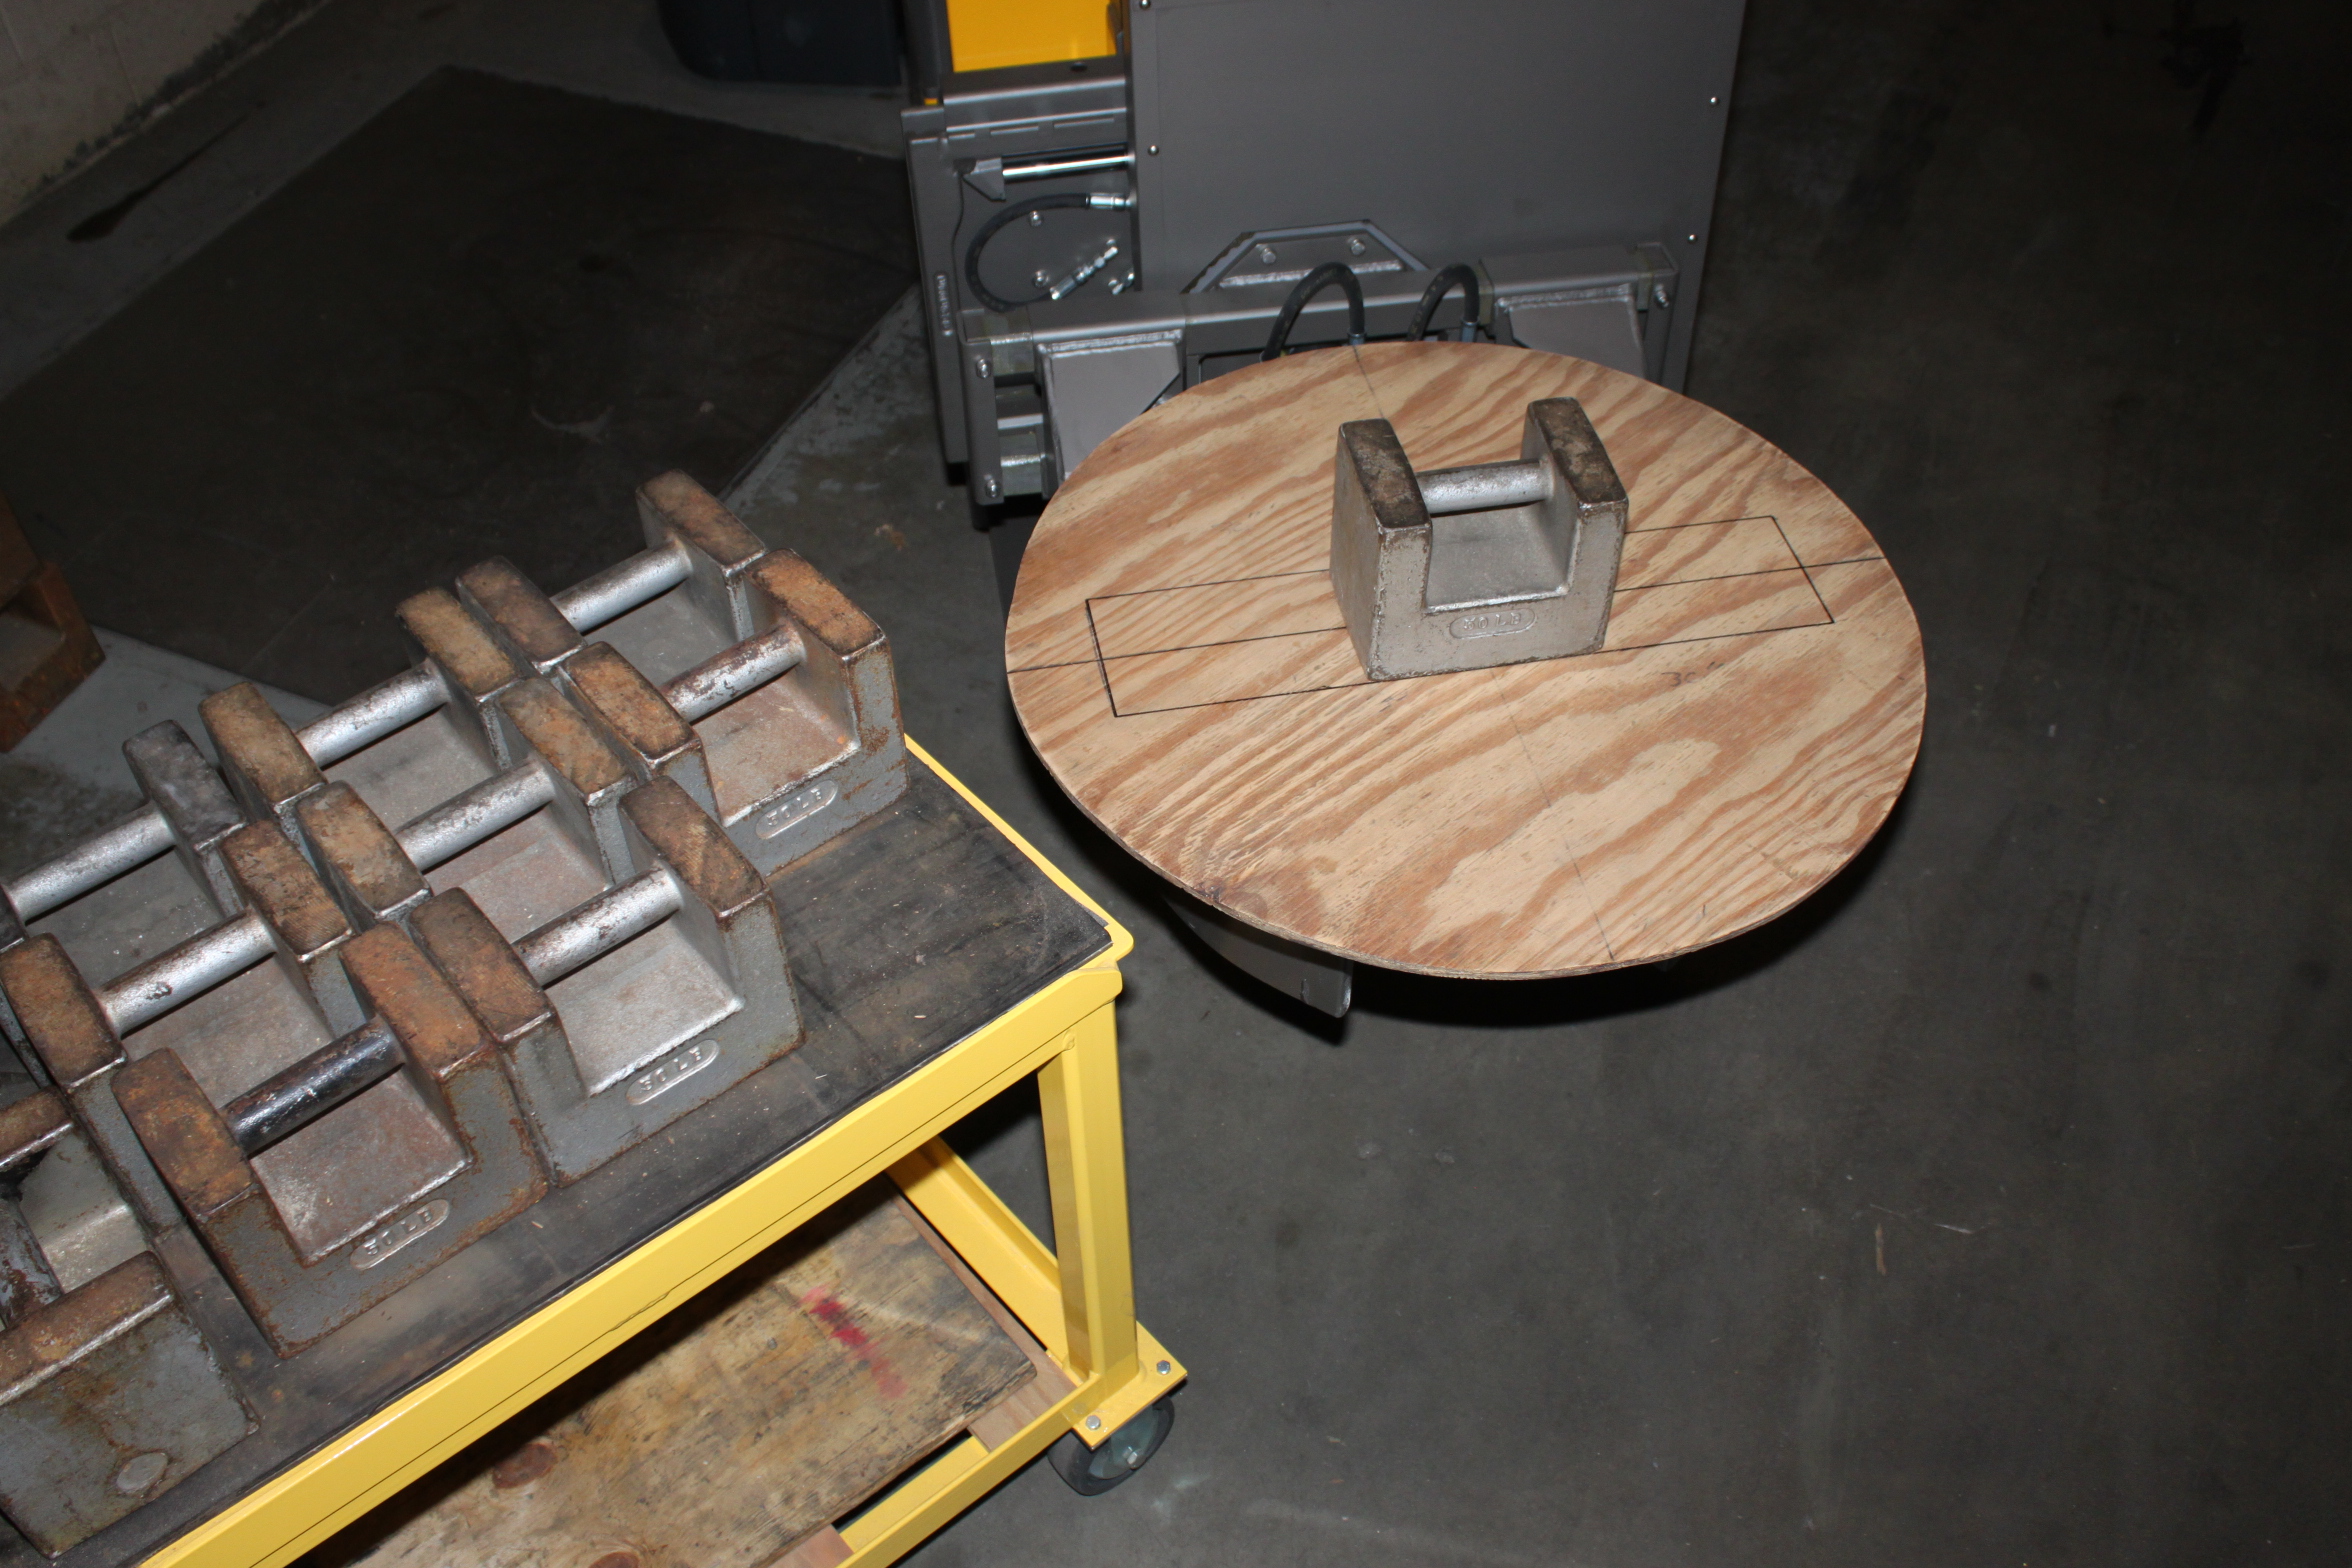
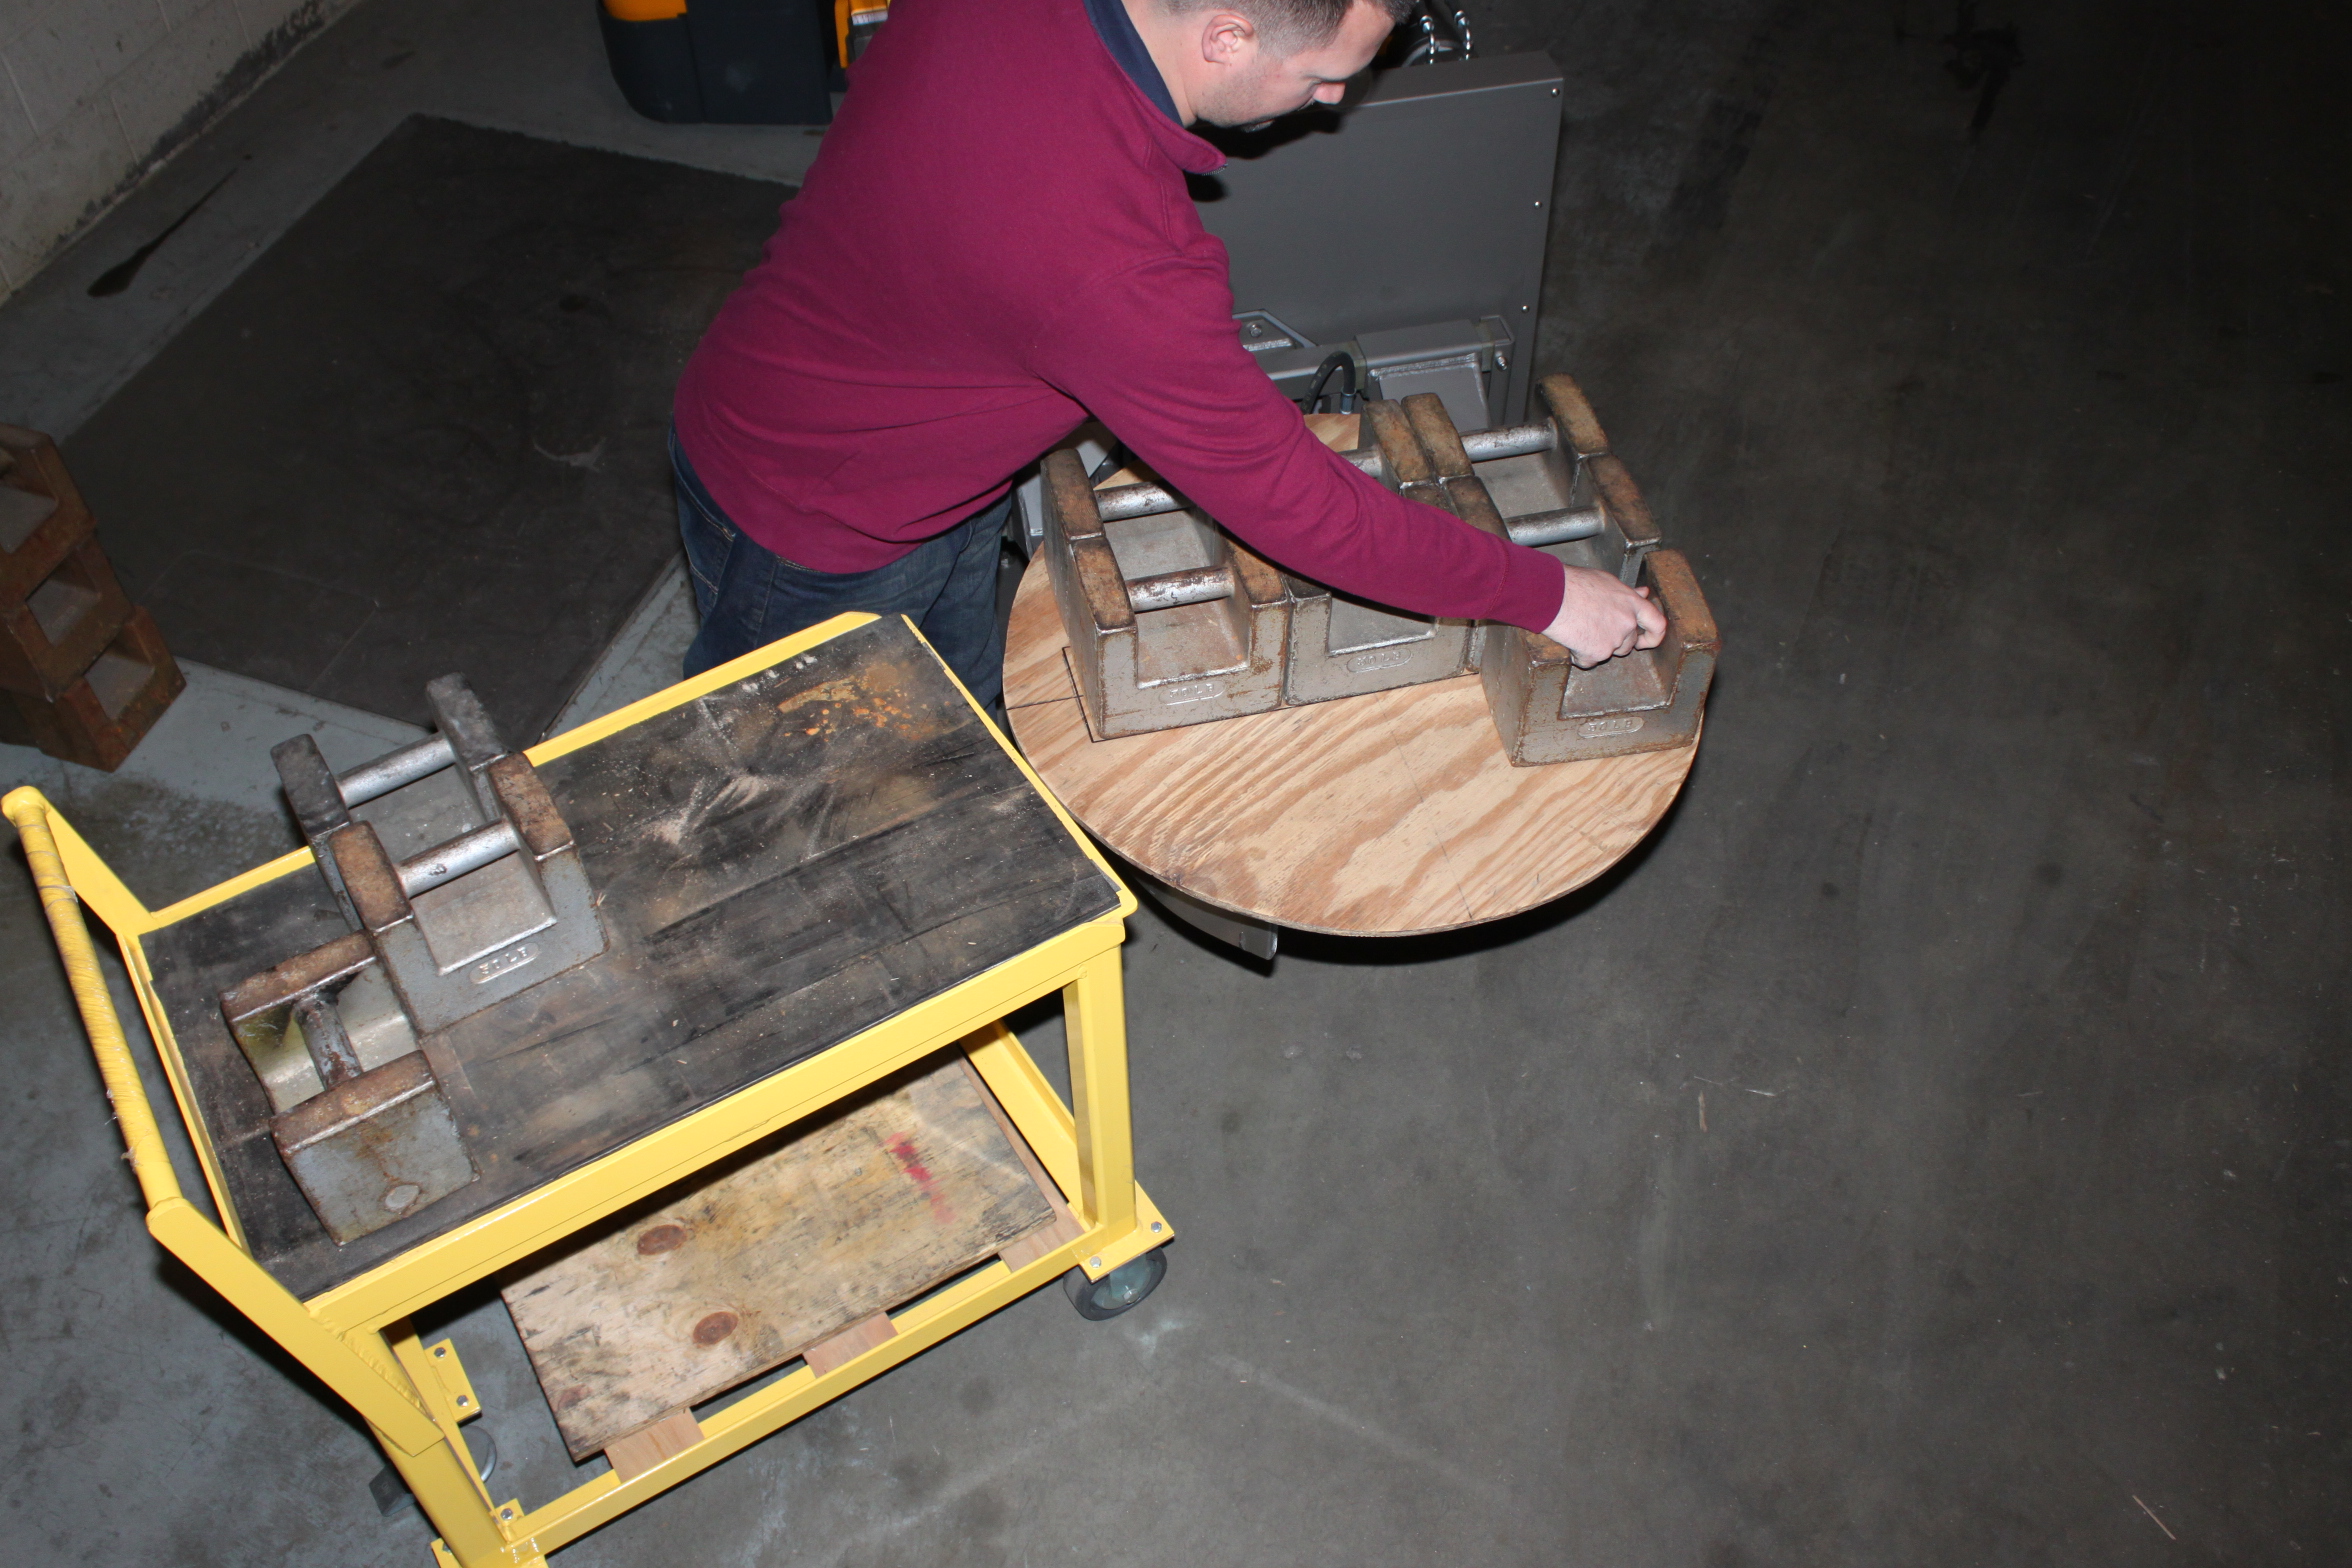
We strongly recommend that these weights be stored on a rolling cart (See Image Below) with the weights elevated at an ergonomic height of roughly 30″ above floor level. As an option, weights could be stored on a small wooden pallet while using a lift truck to elevate the pallet.
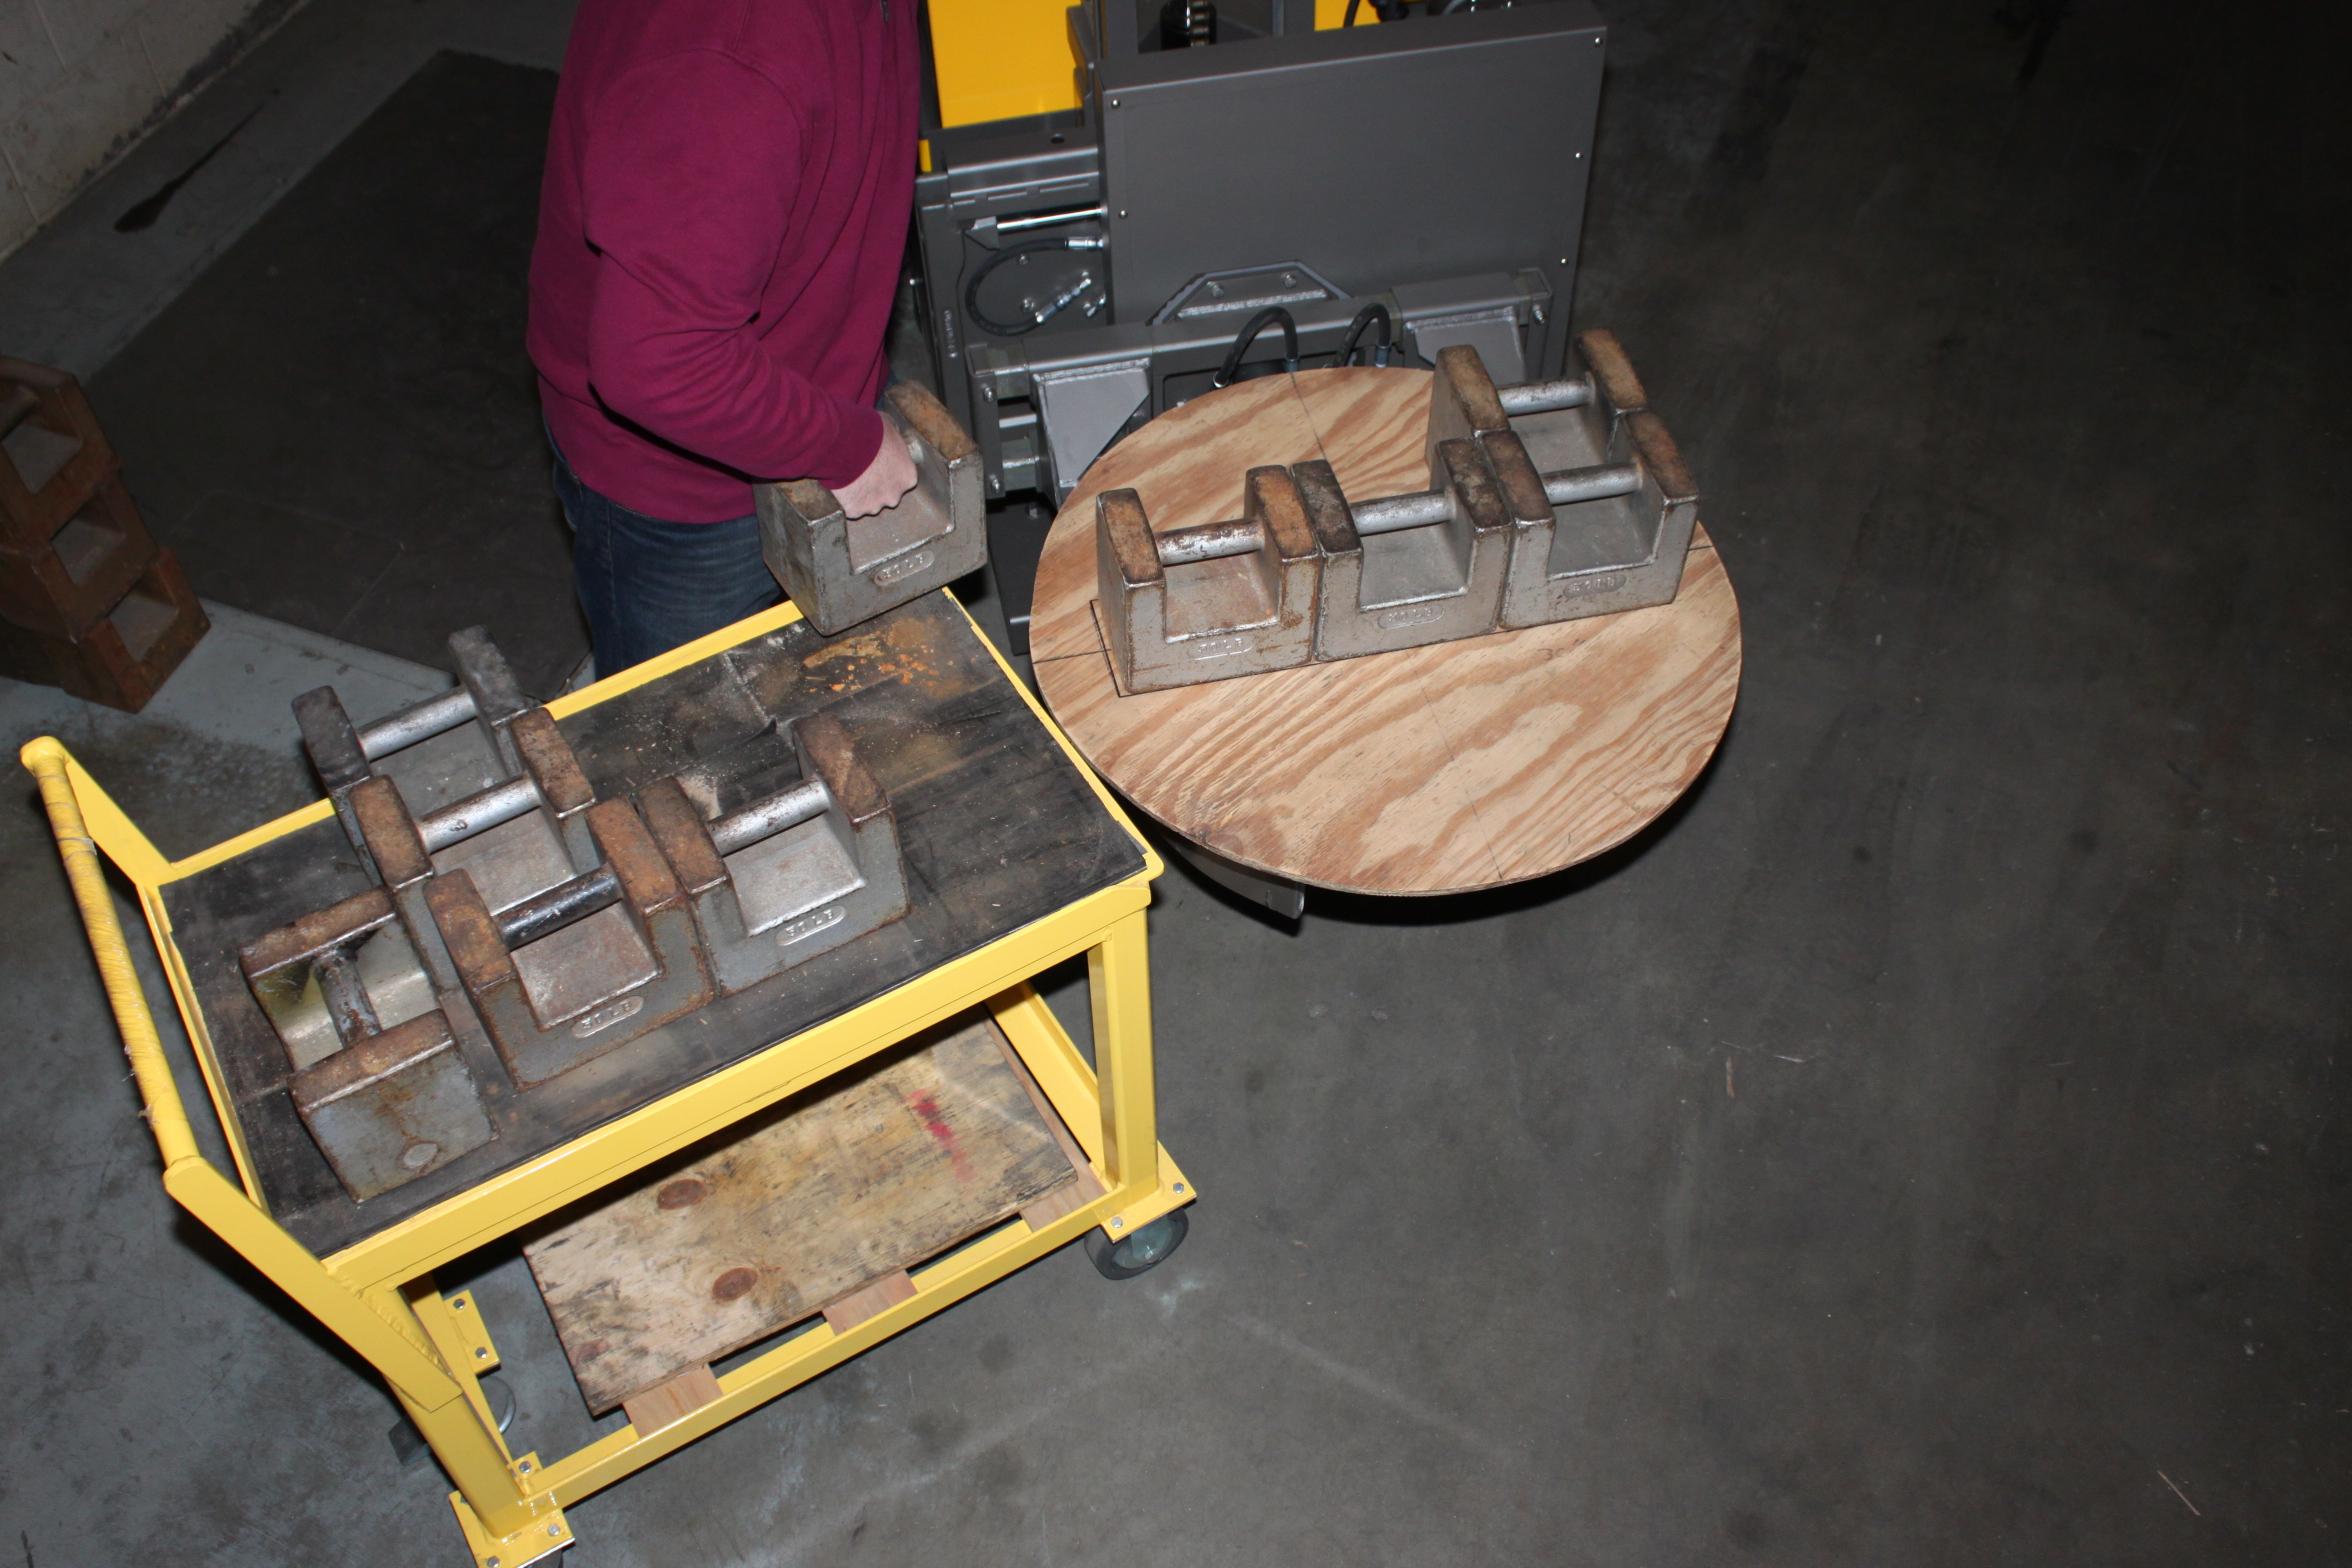
During calibration, it will be necessary to move all ten calibration weights from the cart/pallet to the clamp and then back to the cart/pallet. Unfortunately, this moving of weights needs to be done twice. To simplify this task it is best if the weights do not have to be lifted or lowered more than a few inches. Both the cart/pallet and clamp should be roughly 30″ above floor level. Raise the clamp in horizontal position until it is level with the cart. As a safety precaution, disconnect the power to the Drum-Hauler or drum dumper to be calibrated so the clamp cannot be accidently rotated during calibration.
Loading Weights: To load the weights onto the unit, a platter (pictured below) for placing the weights onto the clamp is required. Our preferred solution is to use a 30″ diameter x 3/4″ thick piece of plywood. The top of the plywood platter should be marked with two intersecting lines to determine the center. With the clamp in a partially closed position to support the platter, the platter should be placed onto the clamping jaws. When stacking weights onto the platter, the first weight should be placed exactly in the center of the platter. The next two weights should be placed tightly on the left and right of the first weight creating a row of weights. Three additional weights should be placed above this row creating a second row. The next three weights should be placed below the original row creating a centered 3 x 3 grid of 9 weights. The tenth weight should be placed on top of the first weight located in the center of the nine weights. (See Image Below)
Tools Required for Calibration:
1. A tool to remove two 1/4″ screws on the back of the indicator access panel.
2. A very small screw driver like one used for eye glass repair.
3. A small non-conductive tool, such as a wooden unsharpened pencil.
4. A flash light.
5. A platter for placing weight onto the clamp and a cart or pallet containing 500 lb of calibration weights. Recommended Platter Specifications: (3/4″ thick plywood circle, 30″ in diameter).
Verification of Calibration: Now or at any later time, the scale can be tested for accuracy. To test the scale, only the platter and calibration weights are required. Begin by elevating the clamp to an ergonomic height of 30″ above floor level. Move the cart/pallet of weights close to the clamp at the same height. Center the platter onto the clamp. The indicator will now display the weight of the empty platter. Press the “ZERO” button to tare-off the weight of the platter. Place one 50 lb calibration weight on the center of the platter and observe the display on the indicator to read 50 lb. Continue to place one additional weight onto the platter in the same fashion as described in the “Stacking Weights” section above and verify the weight displayed onto the indicator. During verification of each weight, the indicator should read +/- 0.2 lb. of the total of calibration weights resting on the platter.
Problems with Verification: Should the indicator reading of the weight display value be greater than +/- 0.2 lb, the indicator should be re-calibrated and verified again. Should this not correct the problem, a qualified scale technician should be contacted to check the load cells for stress problems and replaced as necessary. Any questions, please call our technical staff at 302- 737-7000 or 800-233-1800.
Interested in purchasing you own calibration cart, weights and platter package? Call our parts department today at. Ask for Part# EL12839 which includes: (10) Nist Class F grip-handle calibration weights, a heavy-duty powder coated steel cart with Darcor casters and foot floor lock as shown in the illustrated procedure for $ 1,995.00.
Add $ 750.00 if accredited laboratory certificates to meet ISO/IEC or ANSI/NCSC are required. For specific calibration instructions for the indicator please contact our technical support staff.
Easy Lift Equipment
www.easylifteqpt.com
sales@easylifteqpt.com
1 (800) 233 – 1800
1 (302) 737 – 7000
ILLUSTRATION FOR THE ERGONOMIC STACKING AND UNSTACKING OF WEIGHTS DURING CALIBRATION
-
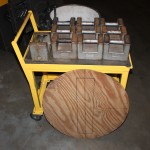
- Calibration cart shown with (10) 50 lb. calibration weights and platter – The calibration weights on the cart are at an ergonomic height of 31” above floor level.
-

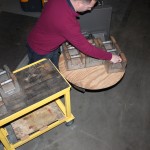
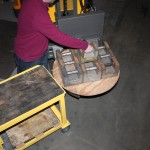
- First, move cart into position for calibration. Raise the clamp so that the top of the clamp is the same height as the cart to eliminate the need for bending and lifting each weight more than a few inches.
-
- With the clamp in a partially closed position to support the platter, the platter should be placed onto the clamping jaws. When stacking weights onto the platter, the first weight should be placed exactly in the center of the platter.
-
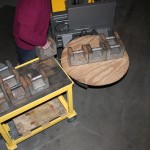
- The next two weights should be placed tightly on the left and right of the first weight creating a row of weights.
-
- . Three additional weights should be placed above this row creating a second row. The next three weights should be placed below the original row creating a centered 3 x 3 grid of 9 weights.
-
- The tenth weight should be placed on top of the first weight located in the center of the nine weights.